 Art Calendar
Art Calendar allows you to display a highly-configurable calendar and events. Add Google Calendar events to your calendar.
Using Google Calendar with Art Calendar
To use Google Calendar with Art Calendar you must provide an API key in the 'Settings' area of the Art Calendar component.
After you have saved your API Key in the Art Calendar settings area, you must enter your Google Calendar IDs when creating a new Art Calendar. You can add IDs for one or multiple public calendars that are in your Google Calendar account. Art Calendar will pull the events from the Google Calendars and display the events on your Art Calendar. When using this method, the event data will be pulled from your Google Calendar on page load and will not live in your Art Calendar events table in your Joomla site's database but will be stored on the Google cloud in your Google Calendar account.
Getting your Google Calendar API Key
1
Login to your Google account and navigate to https://console.developers.google.com. Create a new project

2
Click on the "Library" tab on the left side of the screen and then select "Calendar API" under "Google Apps APIs > Calendar API

3
Click the blue "Enable" text at the top of the page

4
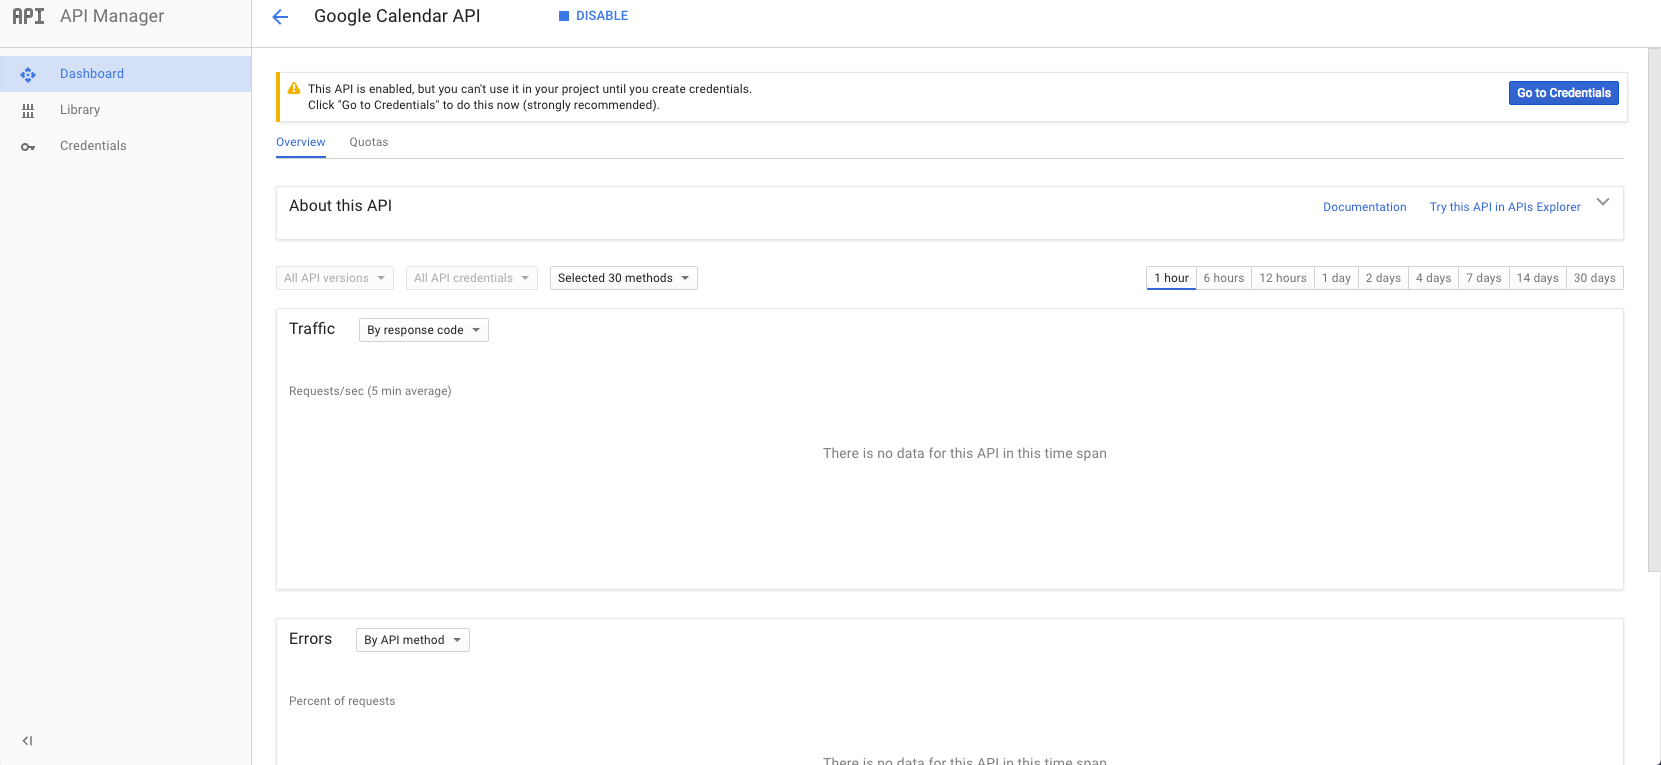
The Google Calendar API is now enabled but there are a couple more steps. Click the "Credentials" from the left menu

5
Click the "Create Credentials" blue button and select "API Key" from the dropdown.

6
Your API key is created.

7
By default your new API key it will have no restrictions. The API also refers to restrictions as "referer" in their API error messages that are returned when a user has incorrectly setup the restrictions. It is recommended that you setup your Art Calendar to use a Google Calendar API key with no restrictions at first for testing and then when you're ready for production then set an IP Address based restriction. To do this click the pencil icon to edit the API Key at the right side of the API Keys table (next to the garbage can).

8
You can now edit your API Key's settings. Under "Key restriction" set to "none" at first for ease in setting up and testing your calendar's features on your site. After you have successfully setup Art Calendar with Google Calendar API on your site, completed your testing of the feature and are ready to move to production then select "IP addresses" Key restriction and enter your server's IP address.

Making Your Calendar Public and Getting Your Google Calendar IDs
- Make your Google Calendar public. In the Google Calendar interface, locate the "My calendars" area on the left.
- Hover over the calendar you need and click the downward arrow.
- A menu will appear. Click "Share this Calendar".
- Check "Make this calendar public".
- Make sure "Share only my free/busy information" is unchecked.
- Click "Save".
- Obtain your Google Calendar's ID. In the Google Calendar interface, locate the "My calendars" area on the left.
- Hover over the calendar you need and click the downward arrow.
- A menu will appear. Click "Calendar settings".
- In the "Calendar Address" section of the screen, you will see your Calendar ID. It will look something like "This email address is being protected from spambots. You need JavaScript enabled to view it.".
 Other articles in this category...